
The MP3 files we all use to store music do not only contain the music. These files also have tags in them. Tags are used to arrange and sort the music according to artists, albums, genres and other classifications. These tags are often filed with wrong or misleading metadata or they simply have no data. This can make arranging your music very difficult.
In order to change MP3 metadata, you need to have an app to access and modify the data. In this post we are going to introduce the best methods there are for changing, adding, or modifying the metadata on your music files. Let’s see how to change metadata and how to change MP3 tags.
How to Change MP3 Metadata with TidyTag
You can change the metadata of music files using windows explorer or Groove music player, but these are the time-consuming methods. If you want to do the job accurate and with minimal effort, TidyTag Music Tag Editor is the solution you need.
TidyTag is a music tag editing software that is available for both Windows and Mac computers. It does not need you to manually go to every single song in your library and change the tags. All you need to do is to import your music to the app and it will automatically search the tags on the internet and then you can apply them to all the songs in one single click. It is that simple.
Key Features:
- Support various metadata formats, including ID3V1.3, ID3V2.3, ID3V2.4, Ogg Vorbis Comment, APE, ASF, and RIFF Tags.
- Works equally well with all major music file formats such as MP3, AIFF, AIF, M4A, M4R, FLAC, OGG, WAV, APE, etc.
- You can use it to modify any metadata information including song title, album, artist, release year, genre, track number, cover, lyrics, and much more.
- Handle the tagging process in batches, which means you will not have to do it song by song just one click and all your library is tagged .
- Allows you to rename the audio files based upon the edited metadata information.
- Sort your music by adding it into respective folders by artist, genre, or any other way you might want it to.
- You can also get rid of all the duplicate songs in your library using TidyTag program.
How to Change MP3 Tags with TidyTag
Step 1 Get the Latest Version of TidyTag
Download and install the latest version of TidyTag on your computer. The software will take a couple of minutes to download and then you can install it in a few easy steps.
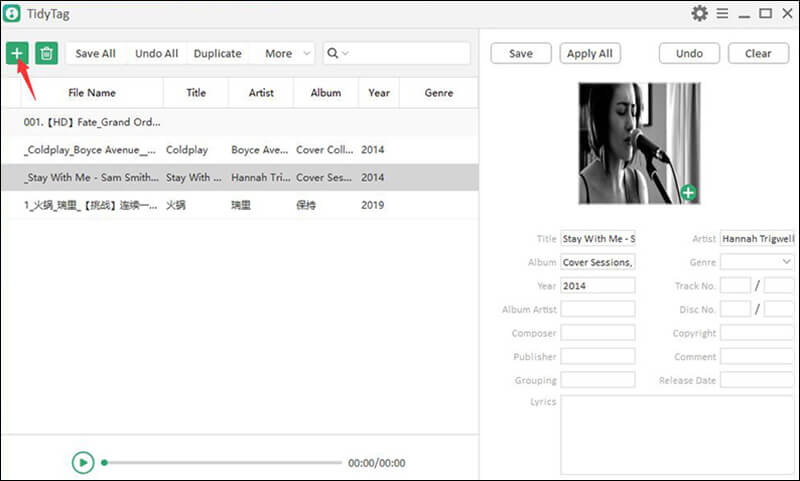
Step 2 Upload Your Music Files
After the software has been installed, open it and click in the + button in the middle to add your music files to the software. Once the files have been imported, TidyTag will automatically search the internet for the tags and assign them to the files.
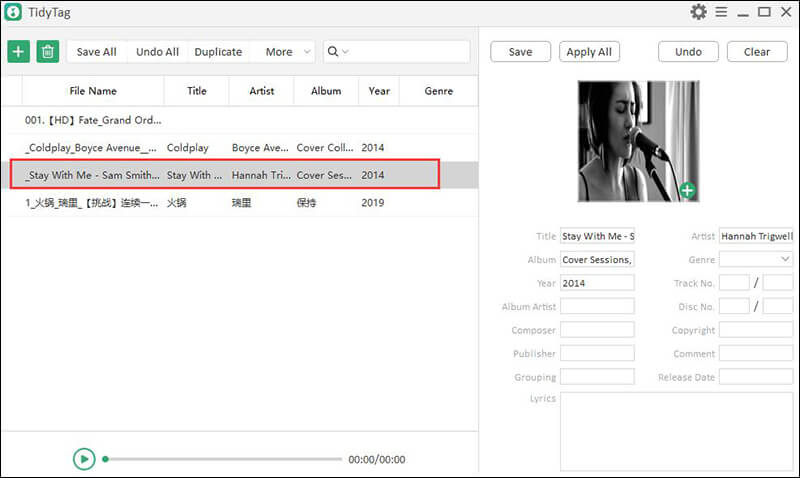
Step 3 Select the Files to Review them
In this step, you can select the files on which you want to edit the metadata information. To do that, just select the required file from the left sidebar. Once the file have been opened, review all the corresponding tags that are generated by the TidyTag program.
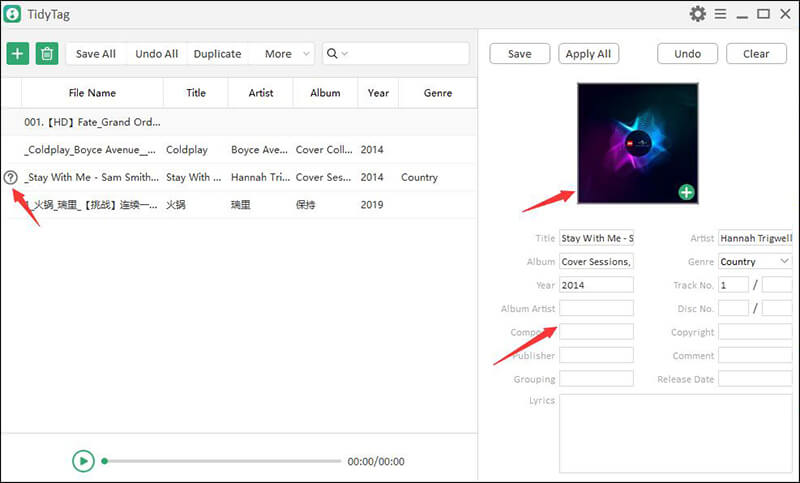
Step 4 Make Adjustments
After reviewing the metadata information, next, you can make any required changings in the IDR tags. You can change it by clicking on the particular field and changing the information written inside it.
Step 5 Save the Tags
After you think everything looks okay, you can just hit the “Save” button to save the tags to your music files. After that, the rick-mark symbol will be appeared as the confirmation.
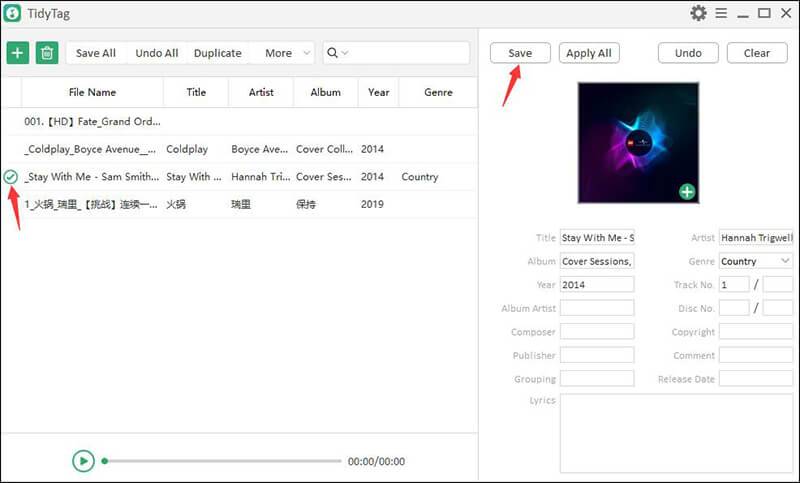
Note: In case you want to remove the tags of the selected audio file, just click on the “Clear” button and all the tags will be removed. Furthermore, if you want to do it for all the music files in the batch, you’ll have to click the “More” button and then select the “Clear All Tags” option.
How to Edit MP3 Tags in Batch with TidyTag
In order to make things quick and efficient, TidyTag offers you the option to change MP3 tags in batches. Let’s see how that can be done.
Step 1 Add the Audio Files
The first thing you need to do is to add the music files to TidyTag. Just click on the + button and add all the files you want to edit with this program.
Step 2 Select Files for Review
The software will automatically start displaying the corresponding metadata, once you have clicked on any file from the list of files given on the left side of the interface. After selecting the file, review all the displaying tag information.
Step 3 Modify the Tags
In case you see some discrepancy or you want to edit the tags’ information, you can modify them to be correct.
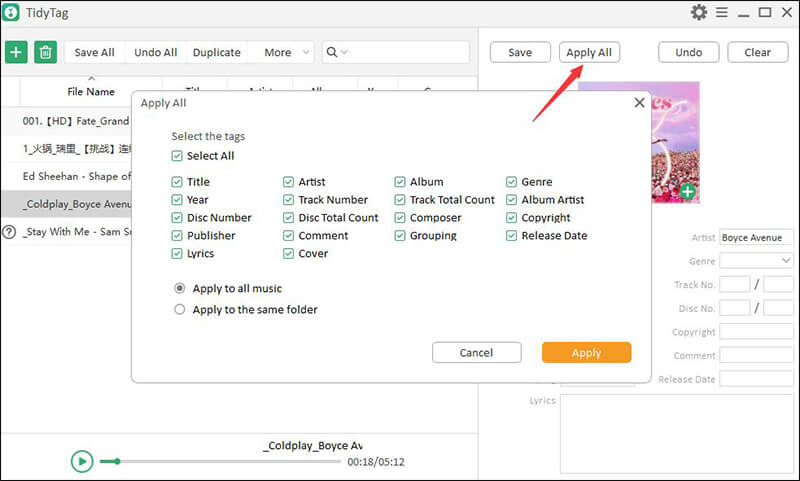
Step 4 Click the Apply All Button
After you have done with modifying the tags, click the “Apply All” button and select the tags that you want to batch edit to all the music file. Next, pick the “Apply to all music” option, if you want to select the all files in the list or “Apply to the same folder” to select all audio files in the same folder with that selected file.
How to Change MP3 Properties Using Windows Media Player
Windows Media Player can be used to manually edit the MP3 tags of music files. Here’s the method.
Step 1 Open Windows File Explorer on Your PC
The first thing you have to do is to launch the Windows File Explorer on your computer. You can do that either by the clicking on the File Explorer button located at the bottom taskbar or just press Windows key + E.
Step 2 Browse Your Music
Then, browse the audio files that you want to edit using the Windows Media Player.
Step 3 Select Properties
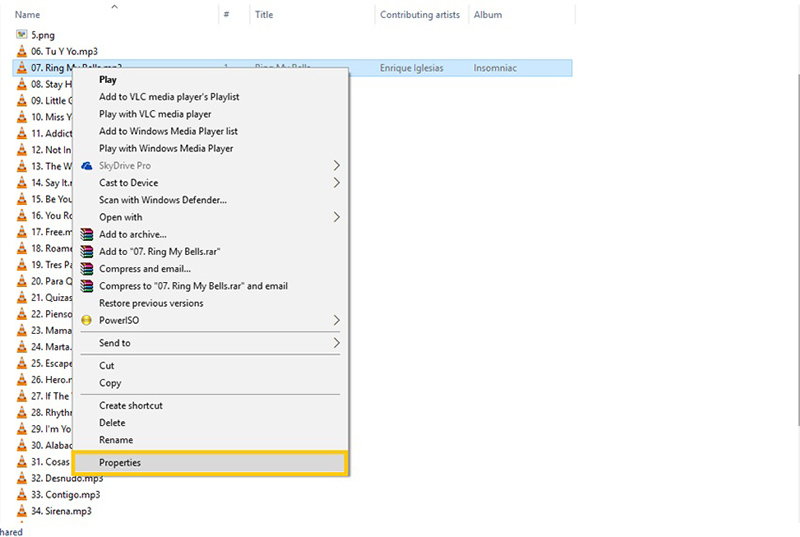
Once you’ve managed to browse the required audio file, right-click on it and select the “Properties” option.
Step 4 Modify the Data You Want
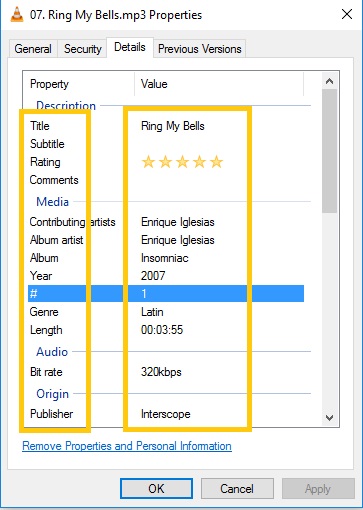
In this step, click on the “Details” tab, and here, you’ll be able to see all the metadata information of that particular file. Add or edit the information by clicking the field next to the name of the respective metadata tag.
Step 5 Apply the Changes
After you are done modifying the tags, just hit the “Apply” and “OK” buttons respectively to save the modified changes.
How to Change MP3 Tags Using Groove
The Microsoft Groove app can also help you edit MP3 tags. Here’s how you can do that.
Step 1 Run Groove App
Start the groove by going to the start menu.
Step 2 Select the Music
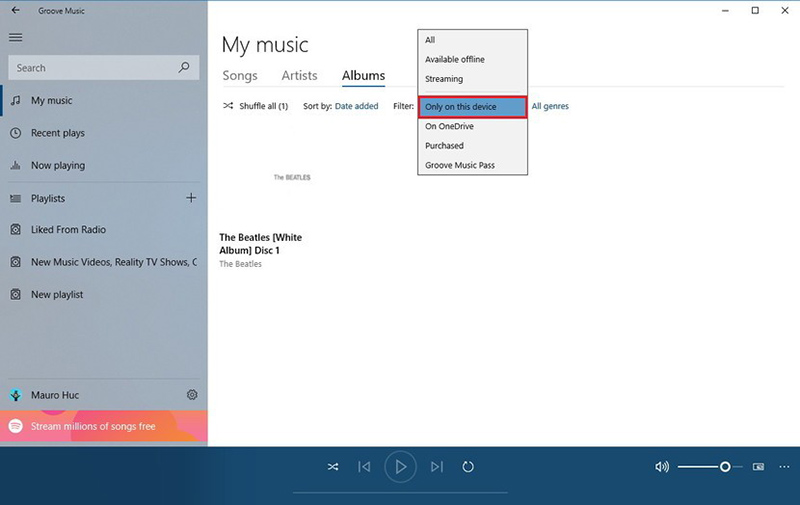
Then, click on the “My music” tab and select the filter option to “Only on this device” to show the songs on your computer.
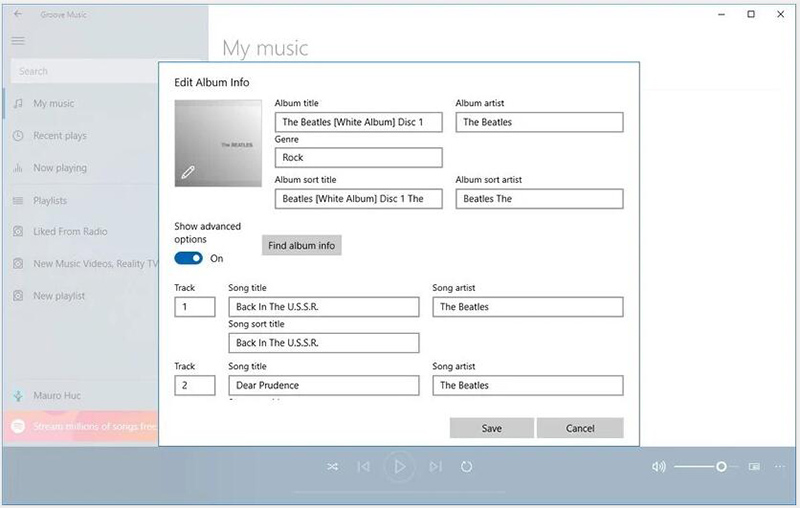
Step 3 Go to Edit Info
Right click on any song or album you want to edit the info of, and go to the option named as “Edit Info”.
Step 4 Add the Info
Now, you can change all the metadata about the song. Make all the changes and click the Save button at the bottom of the dialogue Window and the changes will be saved to the file. If you don’t have the data, you can click on the “Get Album Info” button to search the internet for the tags.
How to Add Tags to MP3 Files Through iTunes
The well renowned media player by Apple Inc., iTunes, also offers the solution to edit MP3 tags. It can be done using the following method.
Step 1 Run iTunes
First of all, open the iTunes software on your computer.
Step 2 Add the Locally Saved Audio File
Then, go to “Preferences” and “General” respectively, and then, add the Mp3 files by dragging them from the folder on your desktop into the opened window of iTunes.
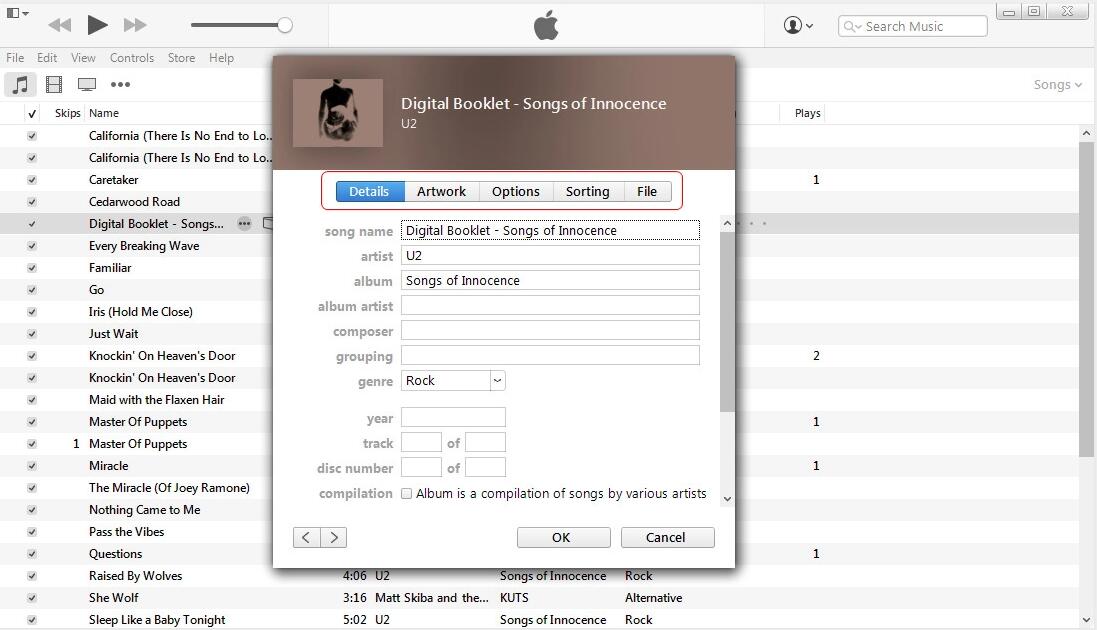
Step 3 Get Info
After uploading the audio filses, select the file that you want to edit and press “Command-I”, which will open a new window with all the metadata tag information. Then, add or edit the tag information and click the “OK” button to save the changes.
See Also:
The Bottom Line
MP3 tags are a great way of organizing a music library but not all the music files have tags by default or have misleading ones. In order to correct the tags, you need to use a software to do that. You can do the thing manually without any specialized tool using Windows Media Player, Groove Music, or iTunes.
While these methods are pretty straight forward, they are not efficient and accurate. The best way of doing this is by using TidyTag. It automatically generates the corresponding tags so that you do not have to type them in. Just verify them and your library will be sorted out and all songs will be in the place they deserve.