Welcome to the official user guide of TidyTag Music Tag Editor. Here, we’ll tell you about how to use this software to edit various aspects of audio files.
Many times, you download music files that have no or wrong metadata. Metadata is actually a piece of information that keeps your files organized and makes it easy for you to filter the required file from the library. And if the files in your music library are improperly tagged with wronged metadata, it can completely mess up your music experience.
TidyTag Music Tag Editor is the finest tool in the category that can perform beyond the ID3 tags. It helps you browse, add, or modify metadata tags, including song title, artist, album, genre, release year, track number, lyrics, cover, and many others. It can also be used to remove duplicates in the music library using different audio file attributes. That’s not all, explore more features here.
Quickly learn how to use Tidytag, take 2 minutes to watch the video tutorial:
TidyTag Music Tag Editor Guide has been divided into the following parts.
Part 1 – Download & Install TidyTag
We understand that downloading and installing desktop–based software can be quite a headache. We compiled and simplified everything into different steps in order to make your installation process as easy as possible. Moreover, the TidyTag music metadata editor is a tool that is designed in a simplified manner to provide the most convenient user experience.
Step 1 Download the Latest Version of TidyTag
We have separate Windows version and Mac version for TidyTag Music Tag Editor. You can simply choose the right version as per your needs and download the latest version from the official webpage or refer to the links given below.
Step 2 Install TidyTag on Computer
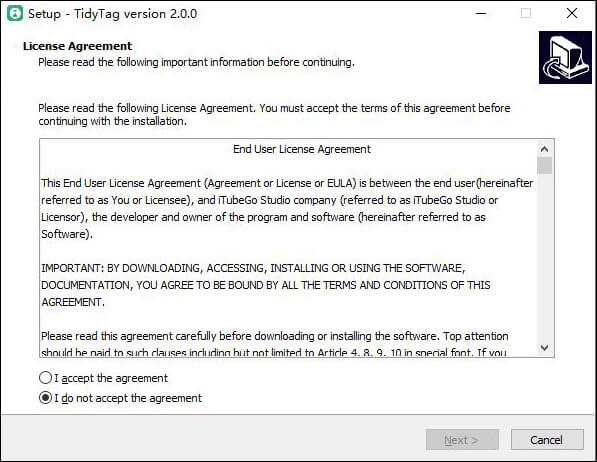
Click the setup file from the download bar or the destination location on your computer. After running the installation package, read the License Agreement carefully, then select “I accept the agreement” and click the Next button.
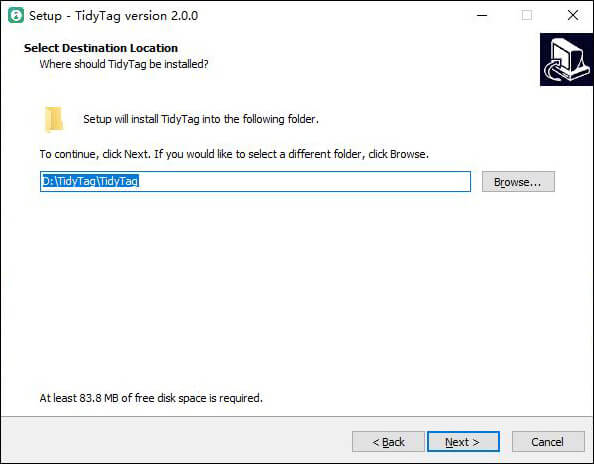
Then select a path to save the software file. You can go with the default location or change the destination folder from the browse option. Again click the Next button.
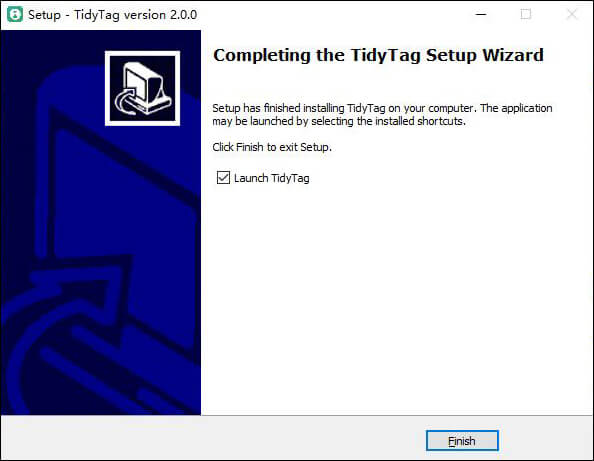
If you want to create a desktop shortcut for the program, then check the box, otherwise, simply click Next to further proceed. After that, the installation gets started and when it completes, click the Finish button to launch the program.
Step 3 Register and Update
1. Register
With the free trial version of the TidyTag mp3 metadata editor, you won’t be to access the full features. For this reason, we recommend you to register and upgrade your program. You can purchase the license code by clicking the cart-like button located at the top. It will take you to the webpage where you can select the best suitable plan and get the license code after entering the payment details.
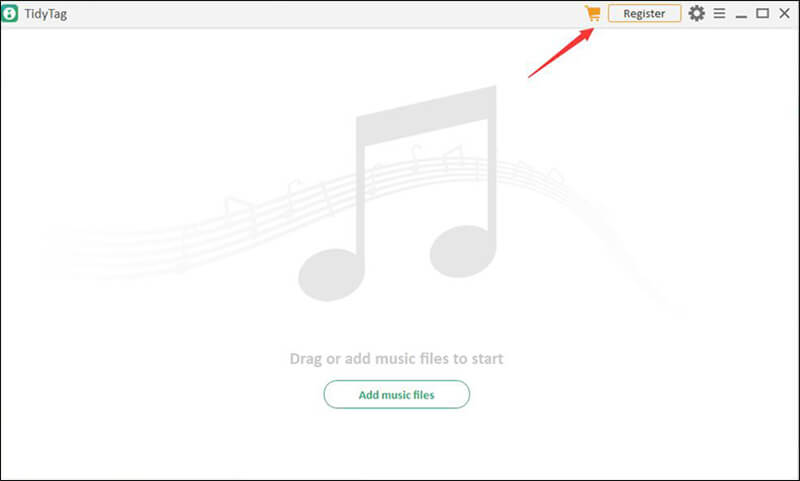
Then, come back to the TidyTag program and click the Register option. Here, you can enter the Licensed Email and Registration Code, which you’ll obtain after getting done with the payment procedure. We recommend you copy and paste the registration details, in order to avoid any typing mistake. After entering the License Email and Registration Code, click the Register button to start enjoying the complete useful features of TidyTag. You’ll also be notified of the successful registration and activation of your program.
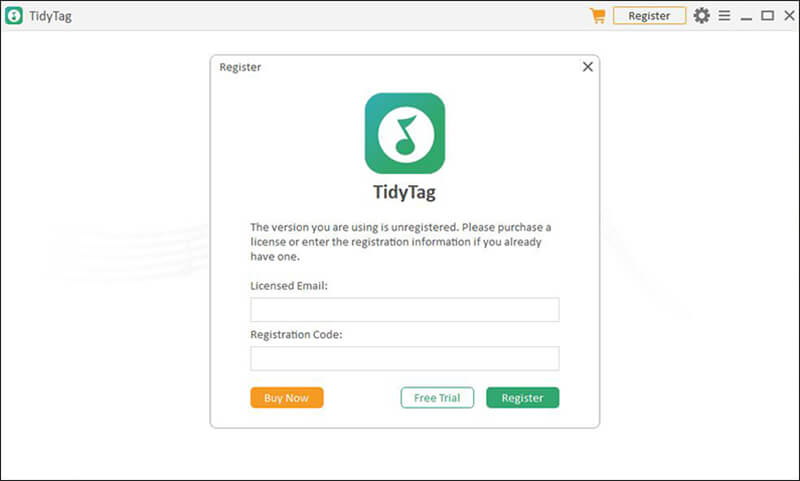
Attention: Please keep in mind that your purchased plans have the time and device limits.
- If you’ve purchased Lifetime, 3-Months, or a 1-Year plan, you can use the account on only one computer.
- Whereas, if you’ve purchased Family Plan, then you can log in to TidyTag on 2-5 computers simultaneously.
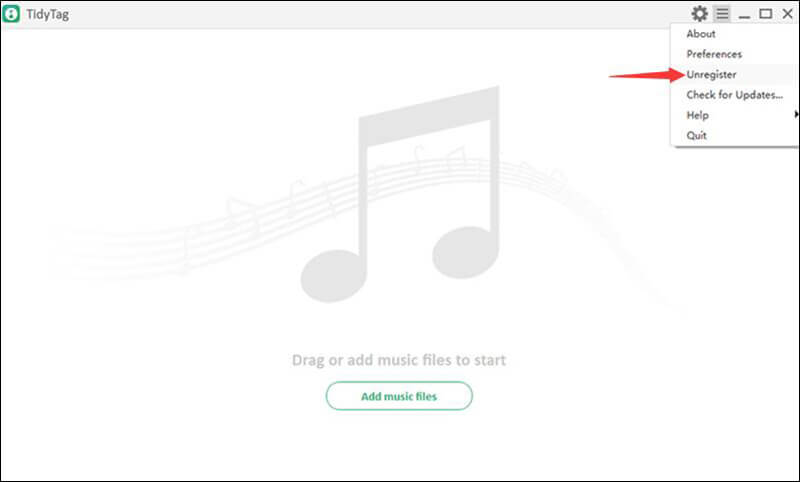
Note: When you want to sign out the registered account, you’ve to click the three-lined button located just right to the Settings tab and select the Unregister from the given options. Then, you’ll be shown the details of your account, simply click the Unregister button to complete the task.
2. Update
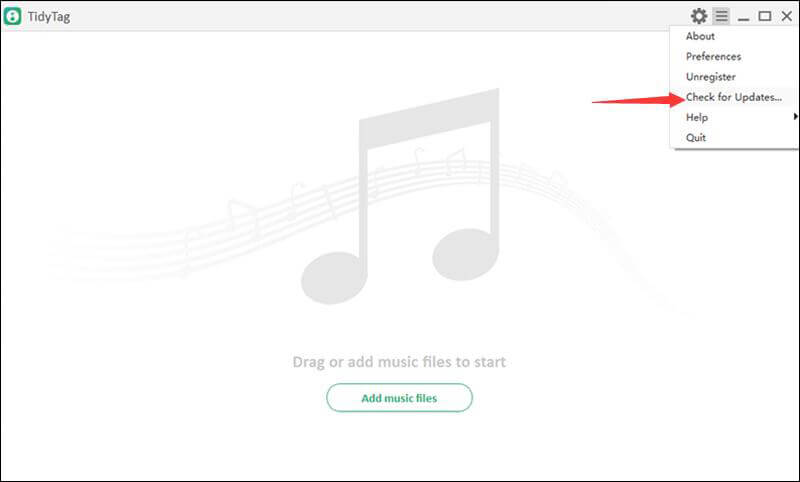
It is recommended to always use the latest version of the program. To check if your TidyTag ID3 tag editor is running the latest version, click the ≡ button located just right the Settings tab. Then, select Check for Updates option and the program will start checking for the available updates. If you’re already using the latest version, then it will be notified. Otherwise, download and update the program to the latest version.
Part 2 – Add Files to TidyTag
TidyTag provides you three different ways add files to its interface. All of the ways are described in detail below.
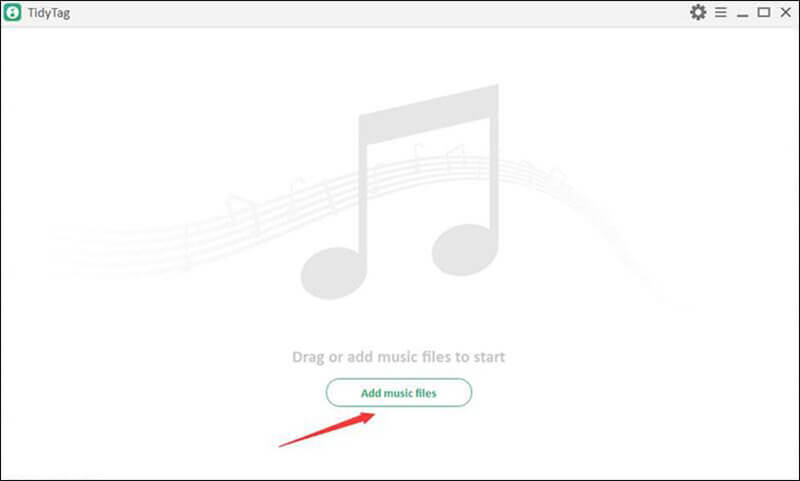
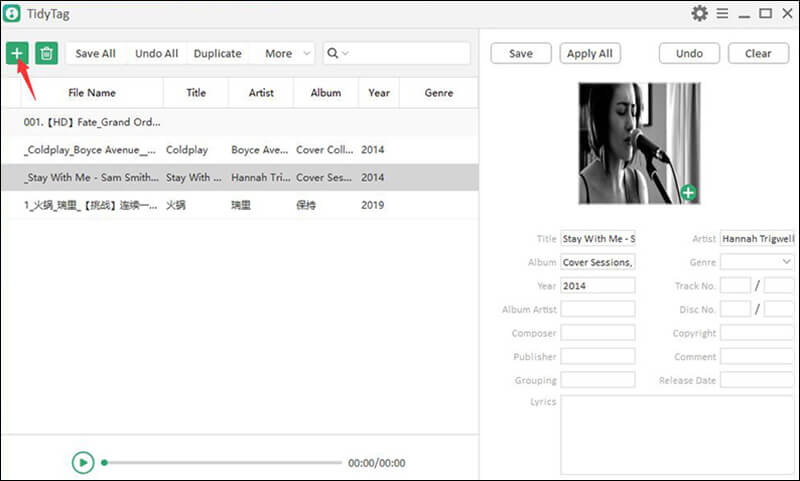
Method 1: Open TidyTag software and click the Add music files button located on the main interface. It will open your computer’s music library, select the files that you open to add, and click Open.
Method 2: You can also add files by just dragging the files of the folder from the music library and drop to the main interface of the TidyTag music metadata editor.
Method 3: The third way is also very simple. Click the “+” button to add files to the TidyTag interface.
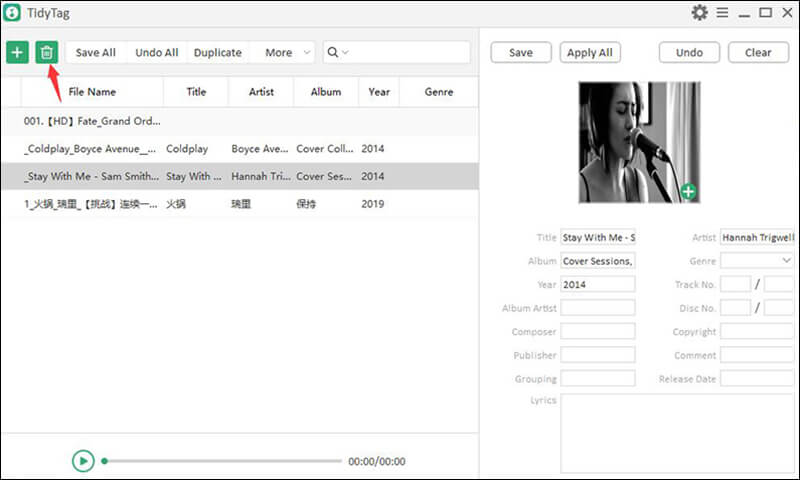
Note: If you’ve mistakenly added the wrong files, then you can remove them from the list. To do that, select the specific files that you want to remove from the list and click the bin like the Delete button.
Part 3 – Edit Music Tags
This section of TidyTag Music Tag Editor Guide will cover the step by step procedure to edit the music tags and different functionalities of this program.
Step 1 Select a File
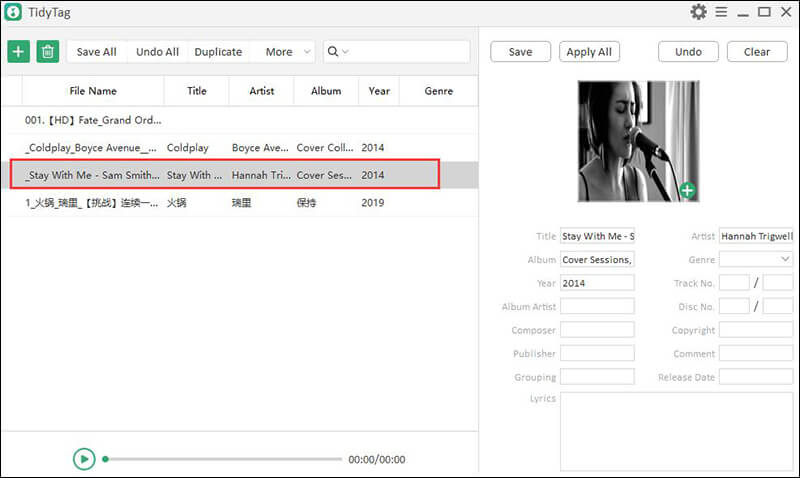
To edit music tags with this ID3 tag editor, first, you’ll have to select the specific file that you want to edit. In the list of the files on TidyTag, move the mouse cursor to the file and click on it.
Step 2 Review the Metadata Tags
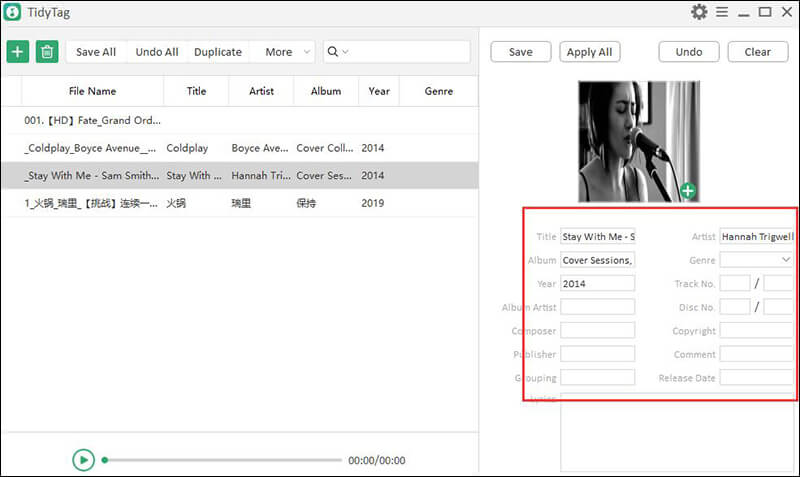
Once you’ve selected the file, the program will automatically display the corresponding metadata tags on the sidebar located at the right side of the interface. These tags include Title, Album, Artist, Genre, Year, Album Artist, Track Number, Disc Number, Composer, Copyright, Publisher, Comment, Grouping, Release Date, Cover, and Lyrics.
Step 3 Add or Modify Tags
In this step, you need to click inside a tag text field and make the required changes. TidyTag allows you to make a lot of changes; you can add the missing tags, modify the incorrect or mislabeled tags, delete the tags that you don’t want, change or add the album cover by selecting an image from your computer, and much more. To change the album cover, click the + button located on the cover photo, and then, select the required picture from your computer.
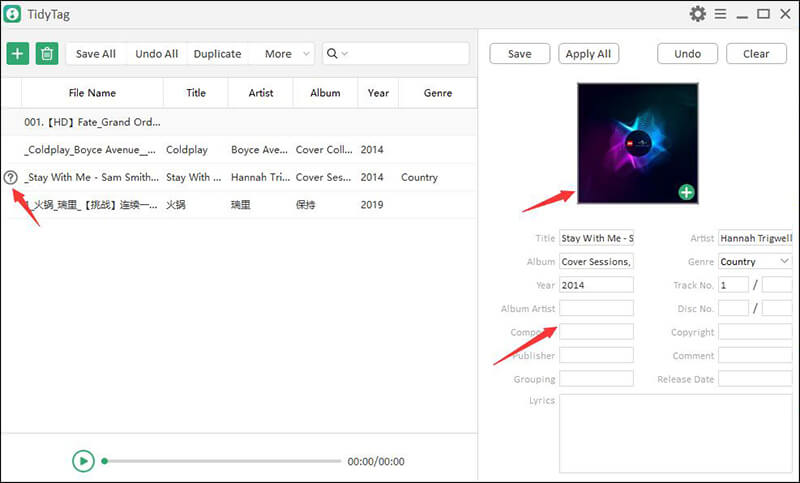
Step 4 Save the Changes
After making the required changes, click the Save button to apply the updated tag data to your music file. The ✔ symbol will appear for the confirmation that the audio has been saved with updated metadata.
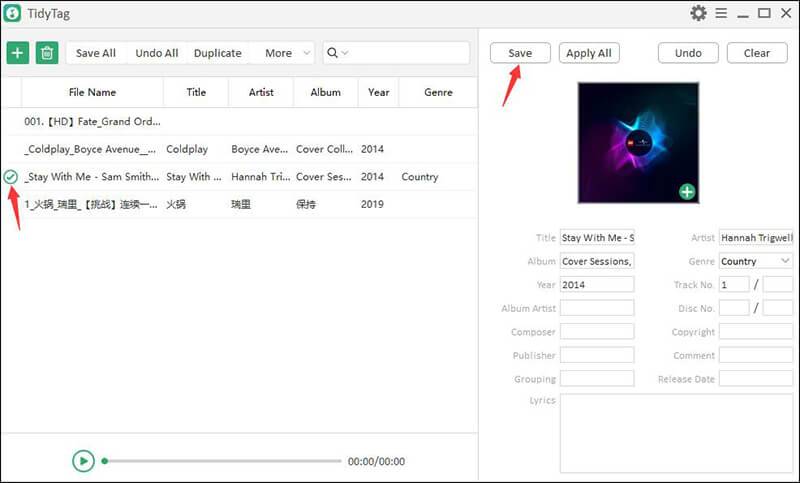
More Options
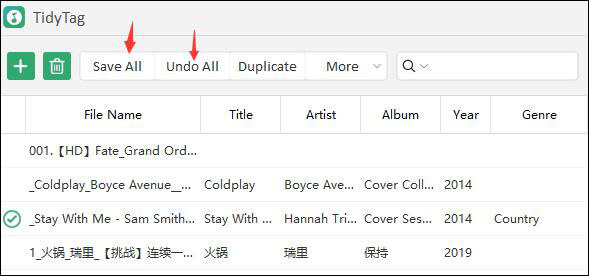
TidyTag mp3 metadata editor offers various other useful features, which makes it a unique and practical tool. Other options that are provided on the interface of the TidyTag music tag editor are the following. You can check out the function of every buttons through the tag of this picture.
1. Apply All: When you have edited music tags for one audio file, you can click the Apply All option to apply the same selected tags to all the songs in the file list of the program or music files available in the folder of that audio file.
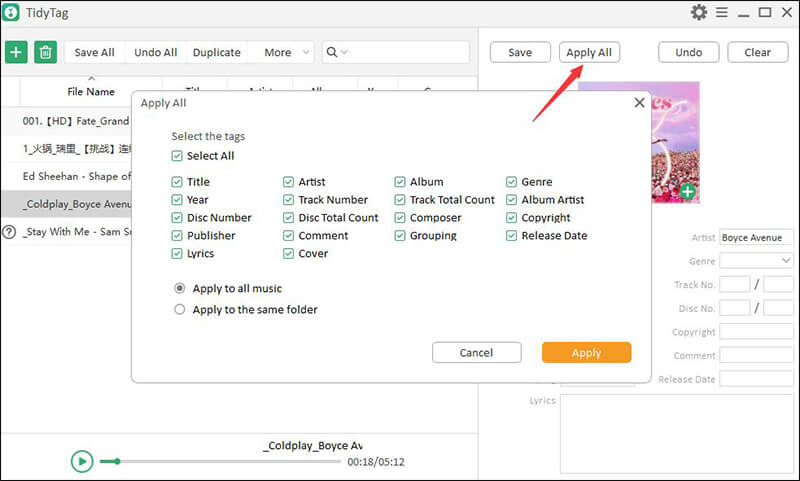
2. Undo: If you want to restore the original tags after making any changes, you can use this option.
3. Clear: This option clear or remove all the tags of the audio file.
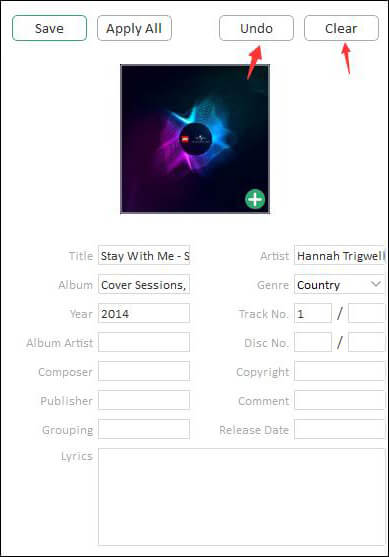
4. Save All: It will save tags at once for all the audio files there in the list.
5. Undo All: You can batch restore the original tags for all the songs in the present there in the file list.
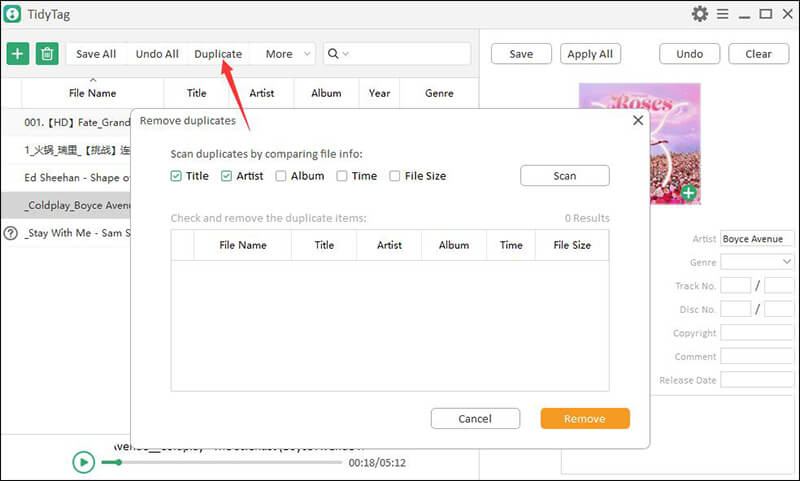
6. Duplicate: Remove all the duplicates by comparing different audio file attributes like title, album, artist, time, file size, etc. If you change the filter criteria, you have to click the “scan” button again.
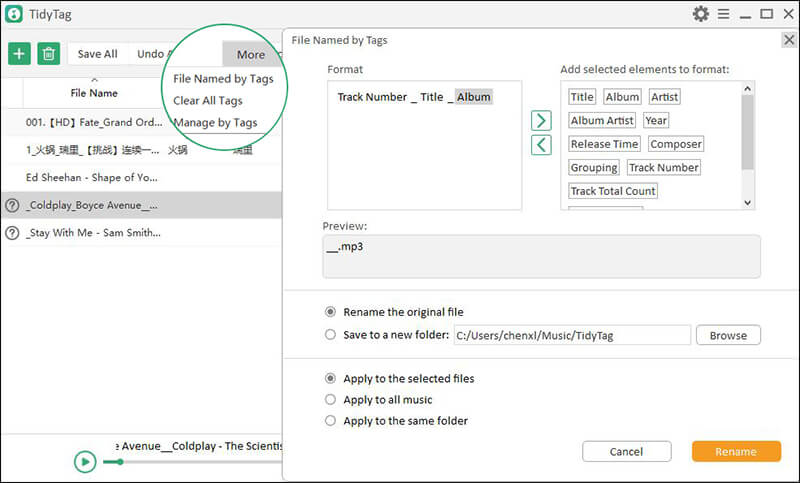
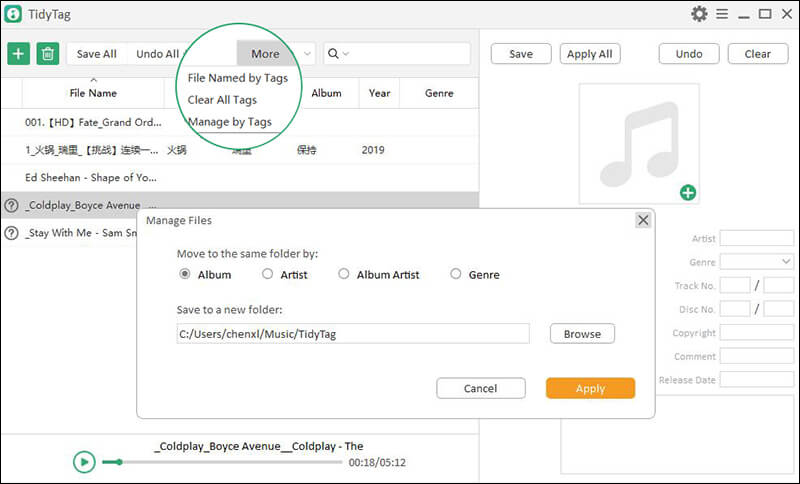
7. File Named by Tags: You can find this option in the “More” section. Through this option, you can rename the selected file name by tags, and then you can save it to a new folder. After you’ve renamed the file, you can also apply the new file name to all the music in the File list or all the songs present in the folder to which that audio file belongs.
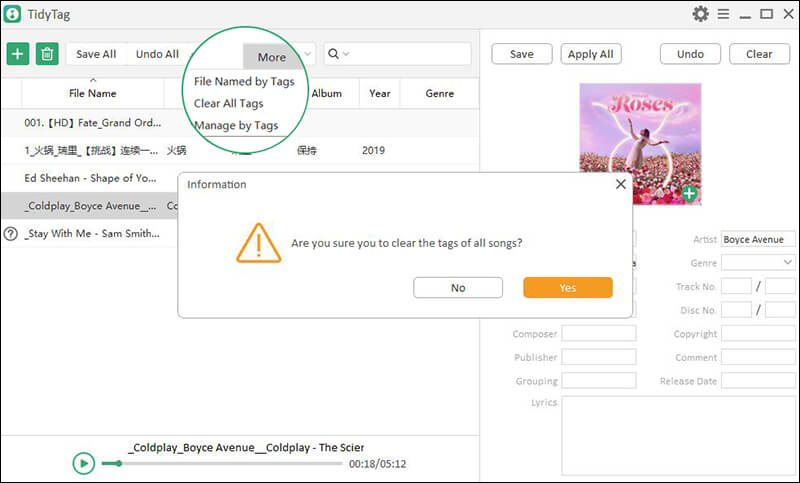
8. Clear All Tags: This option is also located in the “More” section. It will clear the tags or metadata of all the songs in the File list of the program.
9. Manage by Tags: The third option available in the “More” section is Manage by Tags. It will help to manage files by moving all songs in the File List to separate folders according to their information like Album, Artist, Album Artist, and Genre.
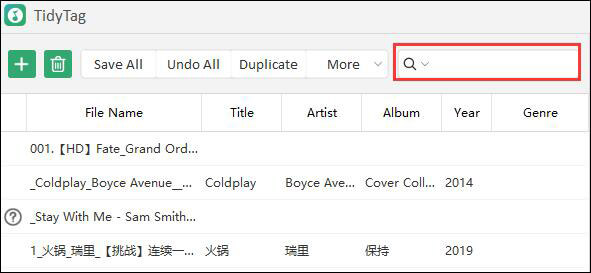
Note:
1. Search bar can be used to search any song from the File list.
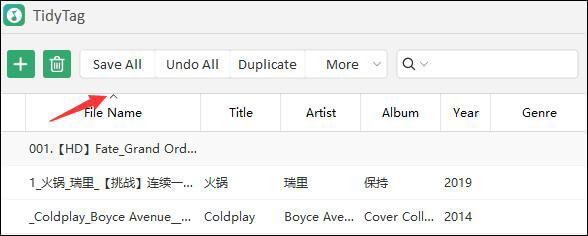
2. Sort bar containing attributes like File Name, Title, Artist, Album, Year, and Genre, helps to sort all the songs in the File List by alphabetical order.
3. Built-in player of the TidyTag program allows you to play the selected song remaining within the software. You can also see the time duration of the complete song, playback progress, song title, and singer on the progress bar of the player.

Part 4 – Preference Settings
To make good use of the TidyTag music metadata editor, you need to know all the program’s functionalities prior to the use. You can access several Preference options by clicking the ≡ button located at the top of the main interface.
1. About
In the “About” section, you can learn more details about TidyTag Music Tag Editor. Company overview, copyright details, the current version of the installed program, and the link to the product page are given here.
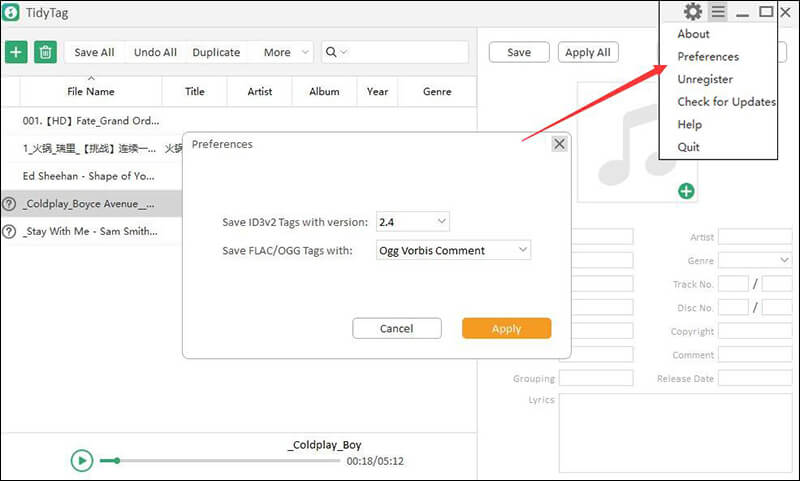
2. Preferences
In the Preferences section, you can select the suitable metadata format version. It is recommended to set up these options before editing the metadata or tags. After selecting the required options, don’t forget to click the Apply button to save the settings.
3. Help
In the Help section, you’ll see further 3 options. Through Guide and FAQ, you can jump to the official webpage for the step-by-step user guide and frequently asked questions respectively. Open Log Folder option will take you to the log folder of the software.
Log Folder: When you occur any problems with the software, please compress the Log folder and send it to us. Our technical engineers will check it and provide a solution for you.
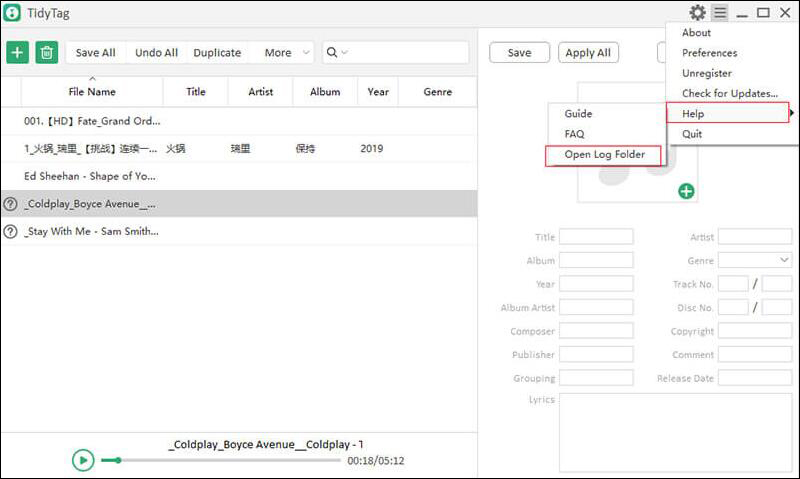
4. Quit
Click the Quit option to exit the TidyTag program.
Conclusion
This TidyTag Music Tag Editor Guide is intended to provide all the information to best use different features of the program. We hope you’ll be now proficient enough to edit your music files metadata with this amazing software. If you still need any help or technical assistance, don’t hesitate to contact us at [email protected].
Hello,
I have already written to you concerning the use of TidyTag with classical music. I think the best way to ask my question would be: what would you choose in the following sequence (downloaded from Qobuz) to identify the “File Name” vs the “Title”?
Dimitri_Chostakovitch-Symphony_No.13 in B-Flat minor, Op.113 “Babi Yar”-I_Babi_Yar_Adagio-LLS.flac
Thanks for your help
Hi Jean,
Our support team will contact you and help you.